Training In A Minute: Record Your Screen With the Windows Snipping Tool
- Aevo Technology

- Jul 18, 2024
- 1 min read
For years, the Windows "Snipping Tool" has existed to provide a simple and quick method to grab a screenshot or "snip" of your screen to save or copy into a document or message.
A couple of years ago, Microsoft released updates to the Tool that enabled better control over how you "snip" and use your screenshots.
Even more recently, the ability to record your screen was added!
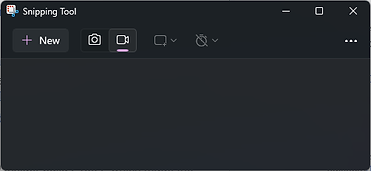
How to record your screen with the Snipping Tool
Open the Snipping Tool
Open "Snipping Tool" App
or, use the Keyboard Shortcut "Windows Key + Shift + S"
Select the "Video Camera" toggle
Click "+ New"
Click and drag an area of the screen you want to record
Click "Start" on the top center of your screen
By default, you'll see a 3 second countdown
Perform the work you want to record
Click "Stop" when you are done
Edit or Save the Video
You can copy the video directly from the Tool
You can save the video
You can edit the video in Clipchamp if you want to shorten or remove parts of the recording.
Done!
You can even use Clipchamp to export to a GIF, example below!

You can see it in action here:
Wrapping Up
Adding the ability to screen record makes the "Snipping Tool" an even more valuable tool that is ready for anyone to use!
For even more info about Snipping Tool, click here.
For more info about using Clipchamp, click here.
Interested in having a conversation about technology in your business?
Send in a contact request or email info@aevotec.com.


